|
<< Click to Display Table of Contents >> Installation Process |
  
|
|
<< Click to Display Table of Contents >> Installation Process |
|
It is strongly recommend to use always the latest version available from our website. Just visit www.Realizzer.com to download the latest setup file. When using a Realizzer CD-ROM for installation, please insert the CD into your CD-ROM drive and the Setup will startup automaticly. If the Auto Installer does not launch, please navigate to the CD using the Windows Explorer and run the RealizzerSetup.exe manually.
Please make sure to:
1. Log into Windows as administrator and accept windows UAC if this message displays
2. Wait until the setup has been installed successfully. This can take some minutes depending on your computer speed.
3. Make sure DirectX 9 is installed on your PC. You can check this by run Start>Run> "dxdiag".
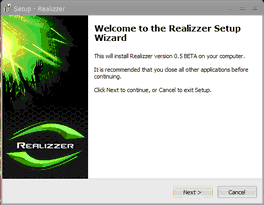
Step 1
| • | You can always quit the Setup by choosing Cancel. |
| • | Click Back in order to return to a previous screen. |
| • | Now, please click Next to start installation |
 Step 2
| • | Choose an installation directory where the software will be installed. |
| • | Browse - Click to change the folder |
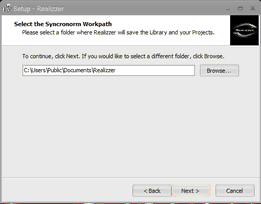 Step 3
| • | Define the directory where the Setup will install all Library files. |
| • | This path is used later to save all future projects and settings |
| • | Make sure to have enough disk space future projects |
Follow the next three steps by instructions and wait until Setup is finished completely.